
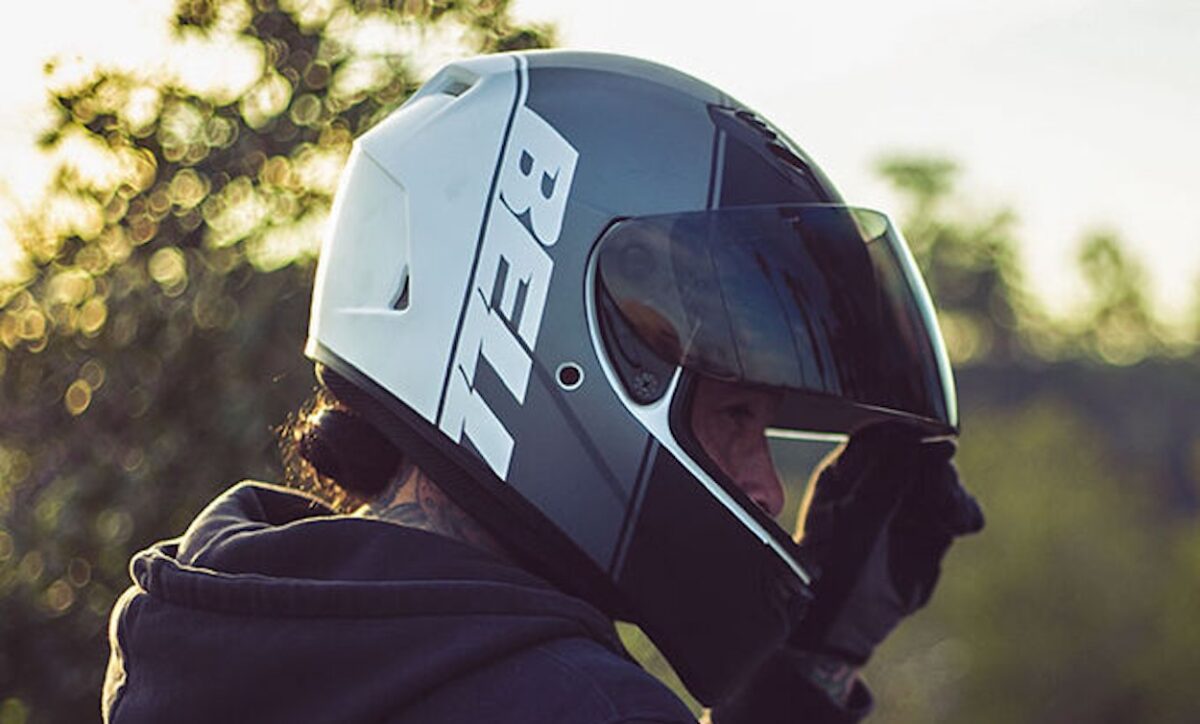
Keeping your motorcycle helmet clean is a crucial aspect of maintaining safety and hygiene. Regularly washing your helmet ensures that bacteria and germs don’t accumulate, reducing the risk of infections.
Moreover, a clean helmet can enhance its longevity and performance, providing you with a more comfortable and secure riding experience. In this guide, we’ll walk you through the essential steps to wash both the interior and exterior of your motorcycle helmet effectively.
Why You Should Wash Your Motorcycle Helmet
Safety Concerns
Have you ever wondered what’s lurking inside your motorcycle helmet after a long ride? Sweat, oils, and environmental pollutants can build up, creating a breeding ground for bacteria and germs.
This accumulation not only leads to unpleasant odors but also increases the risk of skin irritations and infections. By washing your helmet regularly, you eliminate these harmful agents, ensuring a safer and more hygienic ride.
Maintenance of Helmet Longevity
Your motorcycle helmet is an investment in your safety, and like any investment, it requires proper care.
Regular cleaning helps maintain the integrity of the helmet’s materials, preventing premature wear and tear. For instance, cleaning the exterior shell removes dirt and grime that can degrade the surface, while washing the interior padding prevents the breakdown of foam and fabric. This proactive maintenance extends the lifespan of your helmet, saving you money in the long run.
Improved Performance
A clean motorcycle helmet isn’t just about looks. A good helmet directly impacts your riding experience. A comfortable and quiet helmet makes a huge difference. Over time, dirt and debris can clog ventilation channels, leading to reduced airflow and increased heat inside the helmet.
This can cause discomfort and even distract you while riding. By keeping your helmet clean, you ensure optimal ventilation, keeping you cool and focused on the road ahead.
Preparing to Wash Your Motorcycle Helmet
Gather Necessary Materials
Before you start, make sure you have all the necessary supplies:
- Mild soap or baby shampoo: Gentle cleansers that won’t damage the helmet’s materials.
- Soft brush or toothbrush: Ideal for scrubbing vents and hard-to-reach areas.
- Microfiber cloths: Perfect for wiping down surfaces without scratching.
- Lukewarm water: Too hot or too cold water can damage the helmet.
Using non-abrasive materials is crucial to avoid scratching or damaging your helmet during the cleaning process.
Inspect Your Helmet
Before diving into the cleaning process, take a moment to inspect your motorcycle helmet:
- Check for damage: Look for cracks, dents, or any signs of wear that might compromise safety.
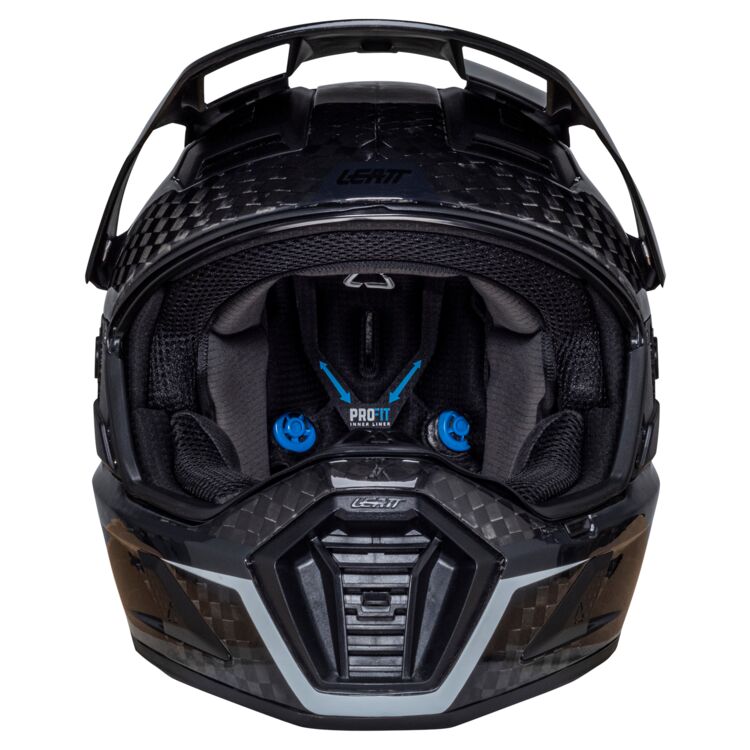
- Remove detachable components: Take out the interior padding, cheek pads, and any removable accessories. This not only makes cleaning more effective but also prevents potential damage to these parts.
By ensuring your helmet is in good condition and properly disassembled, you set the stage for a thorough and safe cleaning process.
How to Wash the Exterior of Your Motorcycle Helmet
Step-by-Step Process
Step 1: Rinse with Lukewarm Water
Start by rinsing the exterior of your motorcycle helmet with lukewarm water. This helps remove loose dirt and debris, making the subsequent cleaning steps more effective. Avoid using hot water, as it can damage the helmet’s materials.
Step 2: Clean with Soap Solution
Mix a small amount of mild soap or baby shampoo with lukewarm water. Dampen a microfiber cloth with this solution and gently wipe down the helmet’s surface. For stubborn spots, use a soft brush to scrub the area delicately. Be cautious around decals and stickers to prevent peeling.
Step 3: Rinse Thoroughly
After cleaning, rinse the helmet thoroughly with lukewarm water to remove all soap residue. Leftover soap can degrade the helmet’s materials over time, so ensure all traces are washed away.
Drying and Maintenance Tips
- Dry with a Microfiber Cloth: Gently pat the helmet dry with a clean microfiber cloth. Avoid using paper towels or rough fabrics that can scratch the surface.
- Avoid Direct Sunlight: Dry the helmet in a shaded area, away from direct sunlight, which can cause the materials to fade or warp.
- Storage: Once dry, store your helmet in a cool, dry place. Using a helmet bag can protect it from dust and minor scratches.
How to Clean the Interior of Your Motorcycle Helmet
Step-by-Step Process
Step 1: Remove the Interior Padding
Carefully remove the interior padding and cheek pads from the helmet. Most helmets have removable liners that can be detached easily. If you’re unsure how to remove them, consult your helmet’s manual.
Step 2: Wash Padding Separately
- Hand-Washing: Fill a basin with lukewarm water and add a small amount of mild soap or baby shampoo. Submerge the padding and gently agitate the water to release dirt and oils. Avoid wringing or twisting the padding to prevent deformation.
- Machine-Washing: If the padding is machine washable, place it in a mesh garment bag and wash it on a delicate cycle with mild detergent.
Step 3: Clean the Helmet Shell
While the padding is drying:
- Interior Cleaning: Dampen a microfiber cloth with lukewarm water and gently wipe the interior of the helmet shell. Avoid soaking the foam. For stubborn stains, use a small amount of mild soap diluted in water.
- Exterior Cleaning: Follow the same steps as for the exterior cleaning, ensuring all areas are addressed.
Drying and Reassembly
- Drying: Allow the padding to air dry completely in a well-ventilated area. Avoid using direct heat sources like hairdryers, as they can damage the materials.
- Reassembly: Once all components are dry, reassemble the helmet by reversing the disassembly steps. Ensure all parts are securely attached and positioned correctly.

Additional Maintenance Tips
Regular Cleaning Schedule
- Frequency: Aim to wash your motorcycle helmet every few months, or more frequently if you ride in harsh conditions.
- Inspection: Regularly check your helmet for signs of wear or damage, such as cracks, dents, or degraded padding.
When to Replace Your Motorcycle Helmet
Even with regular cleaning and maintenance, motorcycle helmets have a finite lifespan. If you notice any of the following, it may be time to replace your helmet:
- Visible Damage: Cracks, dents, or other structural compromises.
- Degraded Materials: Padding that has lost its shape or effectiveness.
- Age: Most manufacturers recommend replacing your helmet every 5-7 years, regardless of its condition.
Final Thoughts About Washing Your Motorcycle Helmet
Maintaining a clean motorcycle helmet is essential for both hygiene and safety. By following the steps outlined above, you can ensure your helmet remains in optimal condition, providing you with comfort and protection on every ride.
Remember, a well-maintained helmet not only looks better but also performs better, enhancing your overall riding experience.